Hi, This is where I'll be doing my entries and post pictures of building up my Burg Blaustein by Bluebrixx! Bluebrixx is a German toy brick company, similarly to the more well known Lego. I am specifically building their Burg Blaustein, which is a castle with multiple addon sets you can buy separately to expand the castle one step at a time in a historically accurate way. It is modular and furnished inside as well. With the base set and all expansions, it adds up to 21.868 pieces, a size of 70x70x70 (centimeters) and a weight of roughly 18 kilograms!
Current status: Base castle plus tower (keep) is done. Waiting until I will buy the next expansion pack.
25.03.2023
The base of the castle is pretty hard to get and I recently missed a release of it, but there is supposedly another shipment coming in early summer. I have bought the first expansion so far and it has already arrived. My plan is to slowly build it up over months and buy the expansions one by one with some time inbetween. I am using the time of not being able to start building yet to search for tables. I have a spot where the castle should go, but I need to get a table for it that is 75x75, and about 60cm high.
11.04.2023
I have found a table that would work and is seemingly sturdy enough. It is not tall enough by default, but I am planning to add wheels to the table legs to be able to move and turn it around, which will add enough centimeters for size (thanks to my girlfriend for this idea). The wheels I have in mind are thankfully made to carry a lot more than 18kg. I was initially looking in the local hardware store, but the materials and options there to make a table yourself were very limited and unsatisfying, so I am happy to have found one by Poco that I will buy.
18.04.2023
I finally got my hands on the base castle in a shortly announced surprise drop! The table will have to wait until next month, and since the castle is still so small, it will easily fit on plenty of my other surfaces until the table is done. I'm excited to share my building process and thoughts soon!
23.04.2023
Me and my girlfriend finally built the base castle! It took us roughly 18 hours to actively build, 20 hours with the breaks we had. I can really recommend doing this project with another person! It saved us a lot of time and trouble and it's nice to have some help. She usually sorted the bricks I'd need for the next step and I put them in, plus sometimes I needed a break and she took over. At points where it worked for the project, we worked in parallel, like doing one side of the roof each, or her doing the trees while I was working on some other stuff, me working on the fence while she put together the entrance house.
I have to say, some steps in the handbook were unnecessarily "tiny", while some other steps asked you to place like 30+ pieces in one go, which did not really make sense to me. Also, I sometimes wished for a different order; like putting the furniture in before we raised the walls. It sucked a bit placing stuff inside the rooms when the walls were already built. Same with the greenery! I REALLY recommend not placing ANY greenery (no flowers, no shrubs, no matter what color) until the very end. Those fall off like crazy every time you have to lift the castle, put something on, reach around to support it while you press something on in the front. There is absolutely no reason why they should be added throughout the building process. Save yourself the trouble of always reattaching them all the time during building. Your sleeves will definitely get caught on them all the time too. I think we always reattached ours randomly where it just fit, so in my images, they might not be where they are supposed to be.
Also, if you're planning to expand the castle anyway, it might pay off to build the trees, but not put them in. They are extremely fragile and don't hold that well; fitting them next to the building and the rocks together with the dreaded shrubbery and flowers can be a huge challenge. But they are needed for latter expansions, so keep them.
Lastly: Some areas are really narrow and don't allow for much deviation, so when attaching the big mountain pieces to the side (they're all built separately and then attached via pins) or setting the roof onto the kitchen, you may need a lot of force and violence. This is normal.
The Packaging of the base castle and the Castle Keep
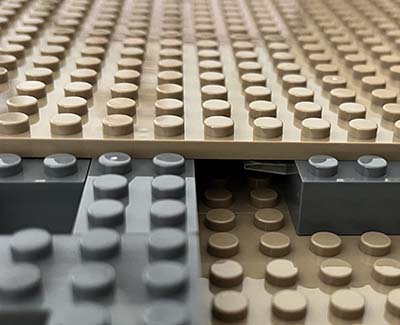
Girlfriend hid a secret message below the castle for us to find one day.
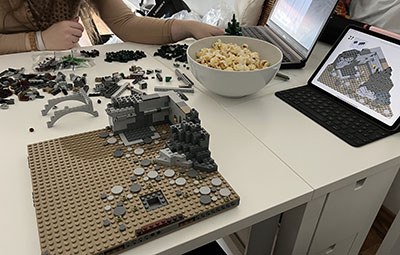
Chill building time with snacks and music.
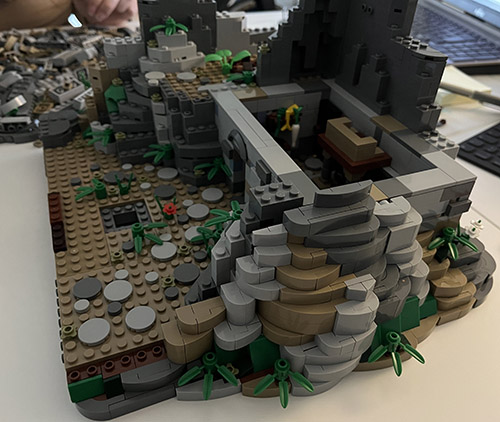
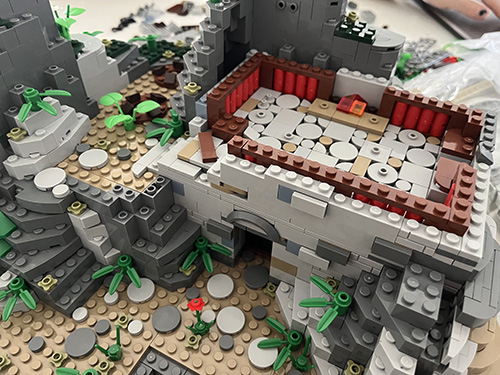
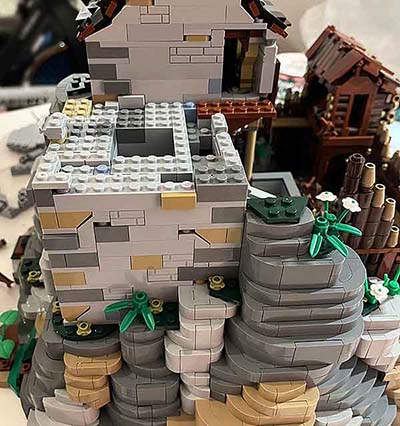
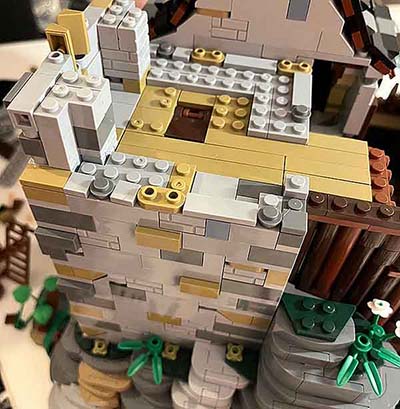
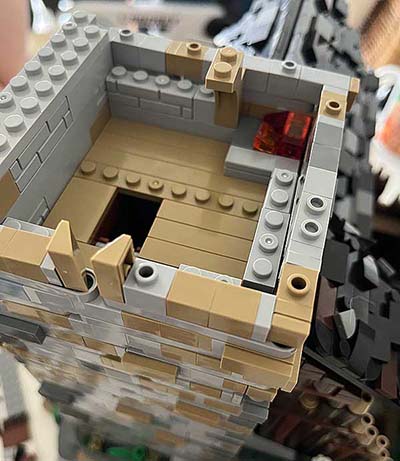
The base of the castle is done. One mountain wall and the kitchen.
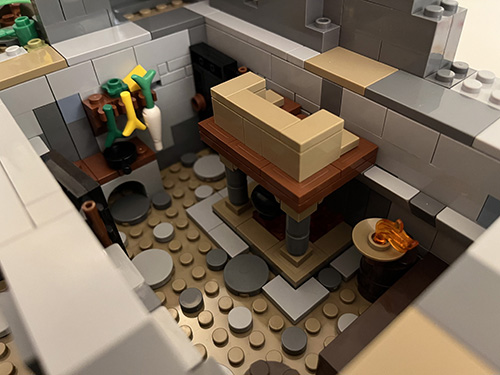
Interior view of the kitchen. Pan and a pot over the fire, plus a few vegetables and cheese. On the lower right, you can see a chest that actually holds something. Behind it, there are little pots of herbs in shelves that are integrated into the wall (not visible here).
Building on top of kitchen begins. The red stuff is supposed to symbolize wall curtains.
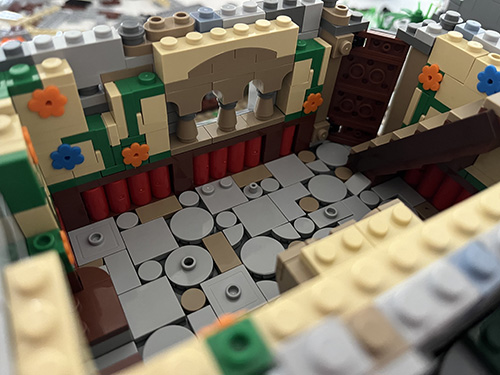
Finished the room on top of the kitchen. It has a fancy window there, and flowery wall paintings. On the right, you can see the door and the stairs.
Furnished room with a stool, a chair, and a table. They can be deconstructed and stored underneath the stairs.
This is the room above, where the stairs lead to. It holds the bedroom and the toilet. Can't spot the toilet? The door for it is exactly at the bottom of the image. Behind the door is a little squat toilet. There is actually a little hole there and the excrement flows down on the outside of the castle. Yes, really. The black spots you'll see later. Also, the stairs there lead to a little attic in the roof.
The tower is almost done. The roof still needs to be built. The hole down there to the left is where the well will be.
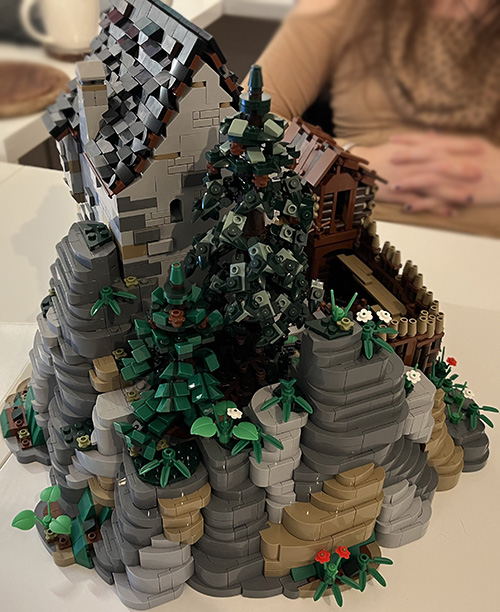
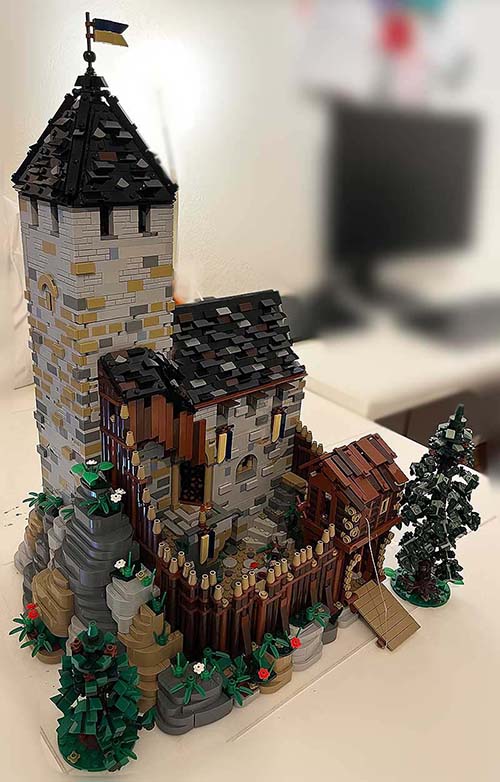
Here's the finished castle, frontal view. We currently haven't attached the little black strings yet that let you control the well and the castle bridge, because we will be replacing them with something that looks more like rope.
Here's the side view.
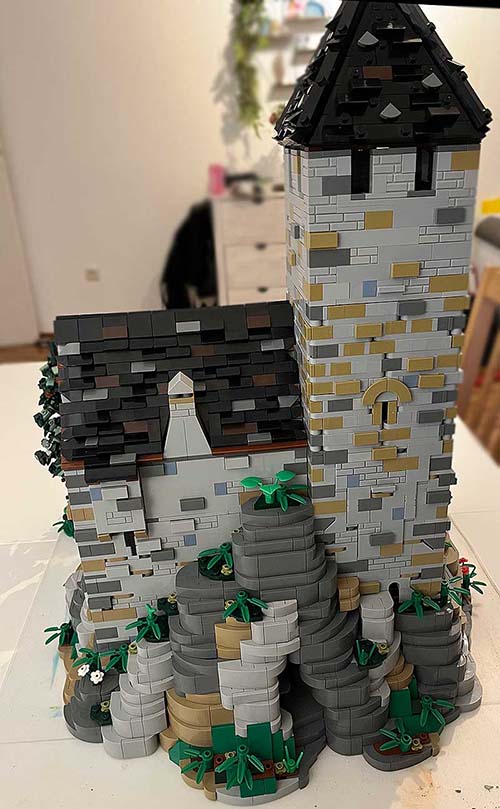
This is the back view. Notice the little toilet cubicle up there sticking out, and the black stones representing the poop underneath it. Also, the little entrance there within the rocks is a secret entrance/escape. Inside, there is a door to the kitchen.
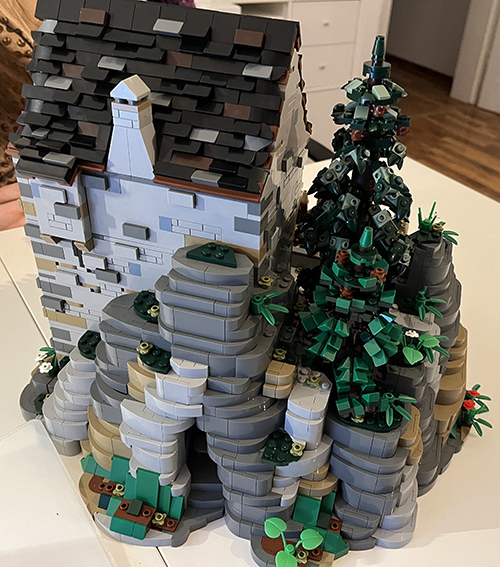
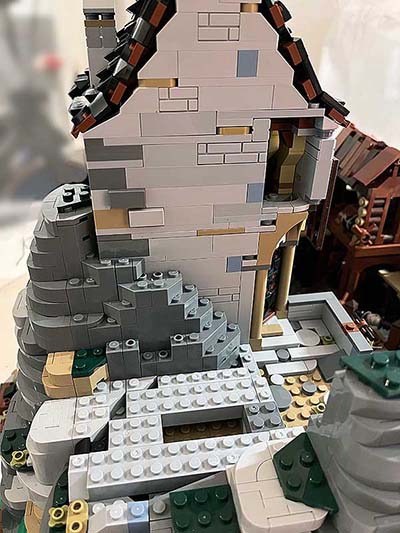
Last side view. I really love how smooth and layer-y the mountain sides are, and how they melt with the building.
06.05.2023
Continued building the castle! Unpacked and built the first expansion set, the Keep (Bergfried). It was fun. Something I didn't quite like were the Technic pieces at the upper part of the tower that kept repeating, I think they were a bit weird, but it was doable. The advice about building the modular backwall at the same time as the other walls definitely paid off. This was suggested because otherwise, the three walls will be finished and then you're stuck building the removable fourth and having a hard time fitting it into the building. Building it alongside made sure it fit easily, and also gave my girlfriend something to do 8) The next one after this is the Outer Bailey expansion set, which I haven't bought yet.
Facts: Package weight: ~1,5kg Total castle weight now: ~5,4kg Pieces: 1958 Building time: ~10 hours
Some images:
The preparations are being done. Some flowers, trees and roof bricks are removed to make space for the tower. It's important to keep all pieces and not use them for other things, because future expansions rely on them.
The beginning of the tower.
The first floor has a little trap door which is the so called "Angstloch" (seems like "fear hole", but probably from the Lat. angustus "narrow" and German Loch "hole"), which is a hole that leads to a room or basement below.
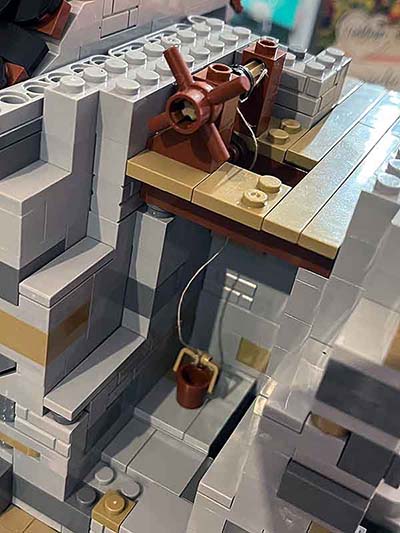
This is the little bucket being let down the hole. The castle comes with black nylon strings, but we always replace those with linen string for a rope aesthetic.
If the trap door is open, the bucket can be let down and retrieved with the little rope.
The stairs and the stair guard rail. The planks are added in the next steps. You can see the bucket in the background.
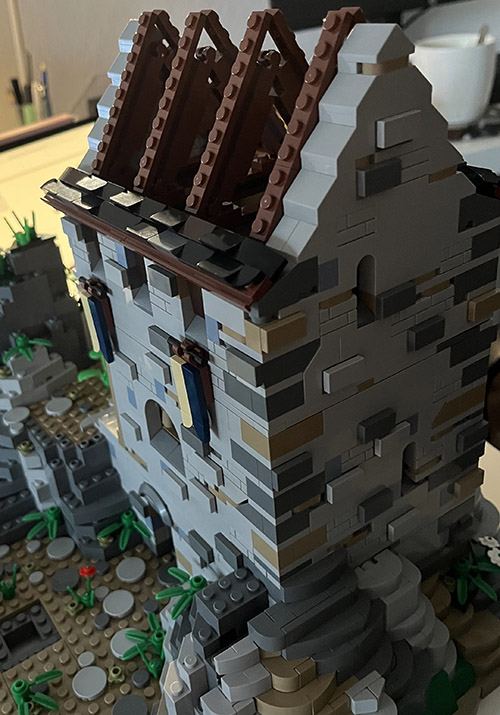
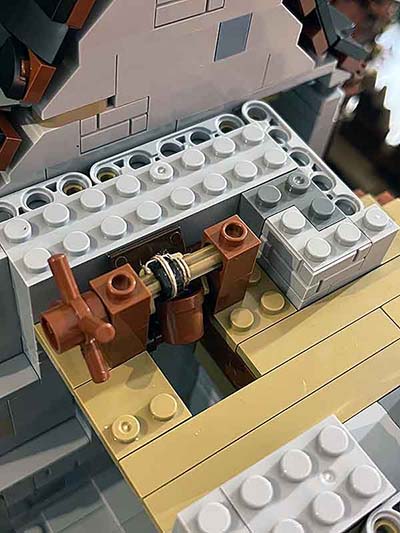
Here's the side view of the tower when you build all walls at the same time and don't leave the modular wall for later. There's a line you can see where it sticks out a little (you can push it in further so it isn't visible) which shows the part you can remove. The Technic element between the upper gray and beige brick in the middle corner is responsible for snapping it in and holding it. If you build it according to the instructions, this element wouldn't be there yet.
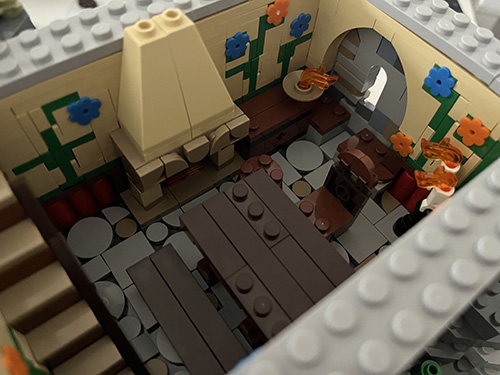
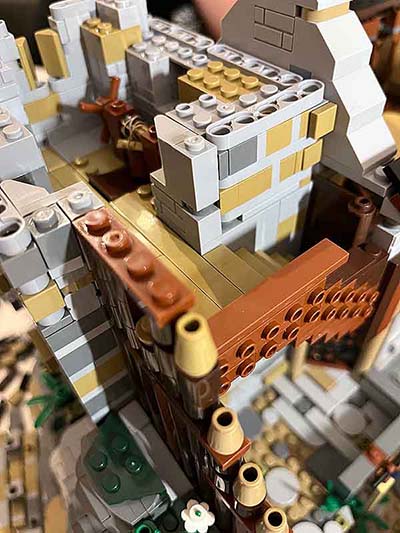
This is the floor on top of the bucket hole. It has stairs down to the hole, features a fire, and in the end has a bed and stool (not included here yet).
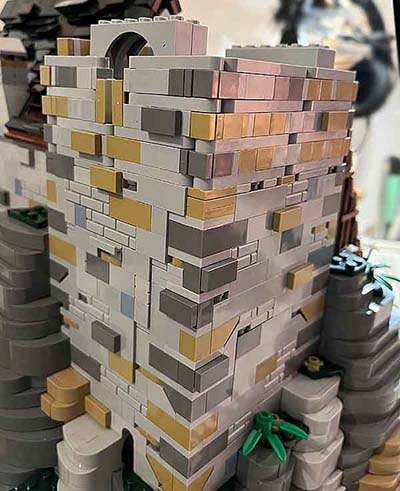
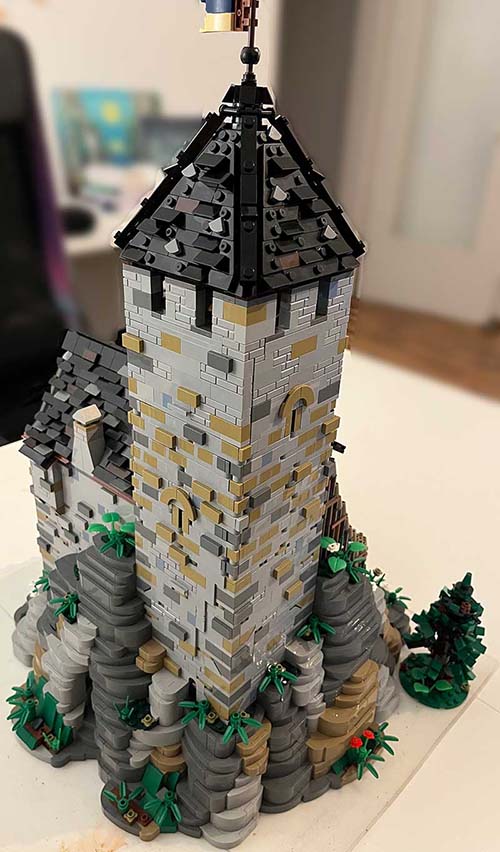
This is the final floor, the floor directly under the roof. Here you can see how tall the tower has already become.
The keep has this nice feature in which you can actually leave the roof off and it still looks nice and castle-y. So if you like this optic, you can leave it that way. You can also see a little ladder down to the bed room.
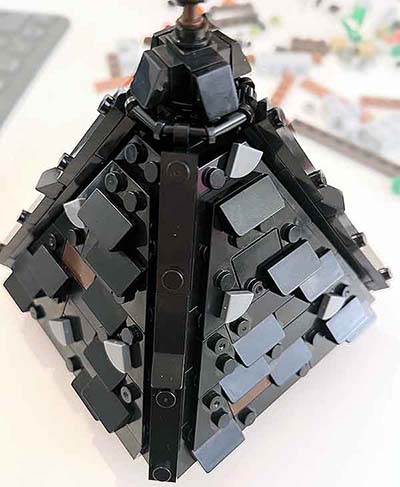
You build the roof separately and then set it on top. This was very difficult to build and attach to eachother, but I appreciate the detail and design.
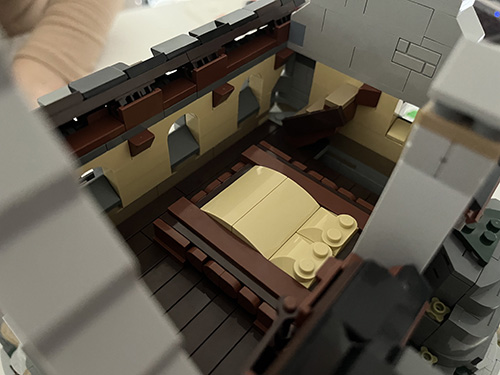
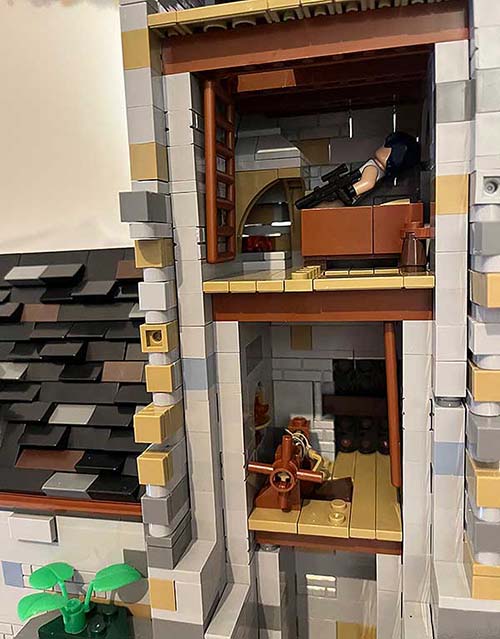
Here's the full view of the tower insides with the modular wall removed. Hole, bedoom, upper floor. The figurine in the bed is Sabine from Star Wars.
Closeup view of the rooms.
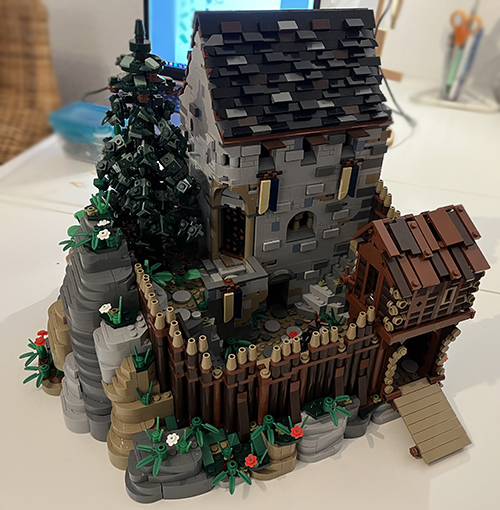
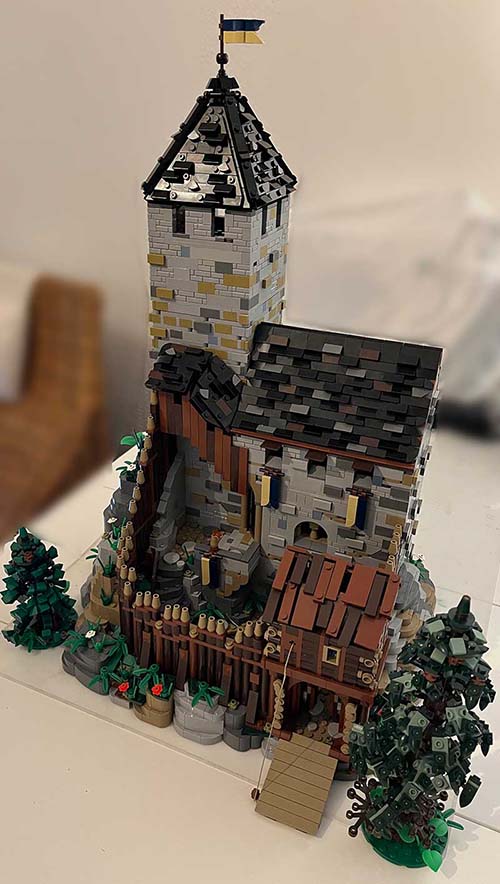
The view of the full castle. The trees are extra now, on their own plates.
Other view.
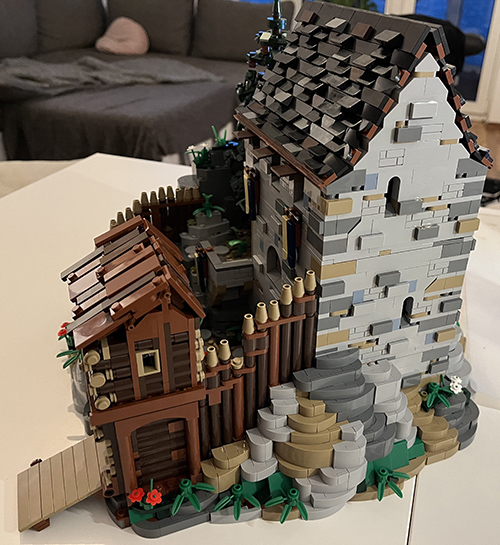
Side view.
Back view.
01.08.2023
I just ordered the next expansion, so there will be an update soon when it arrives and I am done building it and taking pictures :) also, they have released an upgrade kit for the tower which corrects/improves some parts and adds more furniture items. I will get that one soon too when it is available!